


I LOVE how this turned out. It is so roomy and so stylish. I found the tutorial at A Mingled Yarn. And she did a fabulous job on the tut. Very clear directions.
There are 10 pockets in this thing! Can you believe that?! There is a large zipper pocket on the back, 1 on each side, and 2 in the front.


Then there are 5 more on the inside.

There is plenty of room to keep all this stuff that I made to coordinate with it, and it isn't even starting to fill up. But somehow it isn't big and bulky like a lot of diaperbags.

 (nursing cover, changing pad, diaper and wipes pouch, and baby sling)
Of course, I can never leave a pattern "as-is." I always have to make some alteration. This time I kept it to a minimum. Rather than using the vinyl lining, I thought I would use a regular cotton lining and then cover it with clear plastic vinyl, the same way you use a stabilizer. I attached the vinyl to each lining piece before sewing it. Not too big of a change, right? I DON'T recommend doing this! It turned out great, just the way I pictured it, but it was a pain the the butt to work with. It took me WAY longer to make than it should have. Will I learn my leasson and just follow the patter next time I make something? ... Probably not.
I am so excited to use my new bag. The great thing about this messenger-style diaperbag is that it doesn't just have to be just a diaperbag. It could be used by anyone for anything. So versatile... so attractive.
I've made a lot of stuff for myself recently, but I figure I've worked hard to get this little guy here. I deserve it!


 Make sure all layers of the fabric are laying smooth. Now, fold in half again, this time length-wise.
 Again make sure all the layers are smooth. You are going to be making another cut, so you really want all your fabric to be smooth and crease-free. (It has been brought to my attention that this photo makes it look like the material is narrower on one side. Sorry, that is just the angle of the picture. Your fabric should be a perfect rectangle at this point.)
 Now, cut along that line through all the layers of fabric.
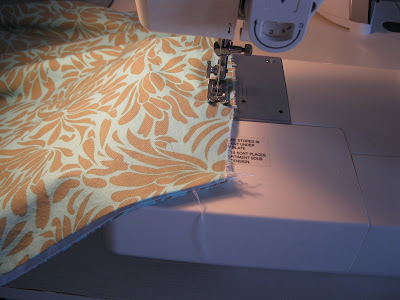
 Stitch each long side together. Trim edges to 1/4 inch if necessary.
 Turn right-side-out and press seams.
 Trim edge to 1/4 inch if necessary.
 Turn so the other fabric is on the outside and stitch the curved side again. This makes a french seam. All rough edges should now be enclosed.
 Take the flap that the french seam made, and lay it flat. Stitch it in place.
 Fold in half length-wise and your sling is finished.
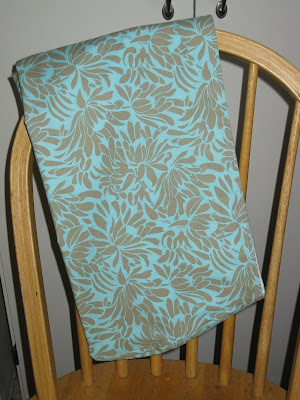
 I absolutely LOVE the colors of these Amy Butler fabrics. Aren't they beautiful? So what is it going to be? Actually it's going to be several things, but I'm going to keep you in suspense. You'll have to check back as I keep updating on the progress I'm making. My goal is to be finished with all of it by next week, but you know me and my goals, so we'll see what happens.


